Thursday, November 3, 2011

This & That

Well, hello! How are y'all?
It's been over a week since I've updated and that seems like for-ev-a!
My brain is getting tired and will probably forget something, but let's hope not.
Let's get started, shall we?

Last week as so busy and crazy. My hamster wheel was on auto pilot and just kept moving.
Dallas started her first week of track out.
We are on year round school calendar here in Raleigh. It's too hard to explain.
Just know that she basically goes to school for 9 weeks and then has a 3 week break...and we do this all year. So she doesn't get the "full" summer that we're all used to, but she does get a summer, just not as long.
Honestly, I love year round. It's awesome!
Anyway, she started track out last week and we were pretty busy...but then again what else is new?
We had her first parent/teacher conference, and she's doing great!
I also helped a fellow mom in the neighborhood moms group to decorate her basement for a couples' Halloween party.
Seeing that I love decorating {especially for parties}, I enjoyed every minute.
Eric and I got our trusty {and loved} sitter and she came to watch the kids Friday so we could go to the party.
Of course it was a dress up party, so I hit Party City on Thursday for the perfect costume.
Not sure it was the perfect one, but it turned out pretty cute.
Cops and Robbers, baby!
{Not the best picture, but it's the only one we got!}

Oh, and I can't forget to mention that my sweet Daddy's birthday was on Friday too.
Happy Birthday, Daddy...aka Papa G!

Being the week before Halloween, it was filled with all kinds of parties for the moms group {also for families} and trunk or treat {at school}.
The kids got to wear their costumes quite a bit last week.

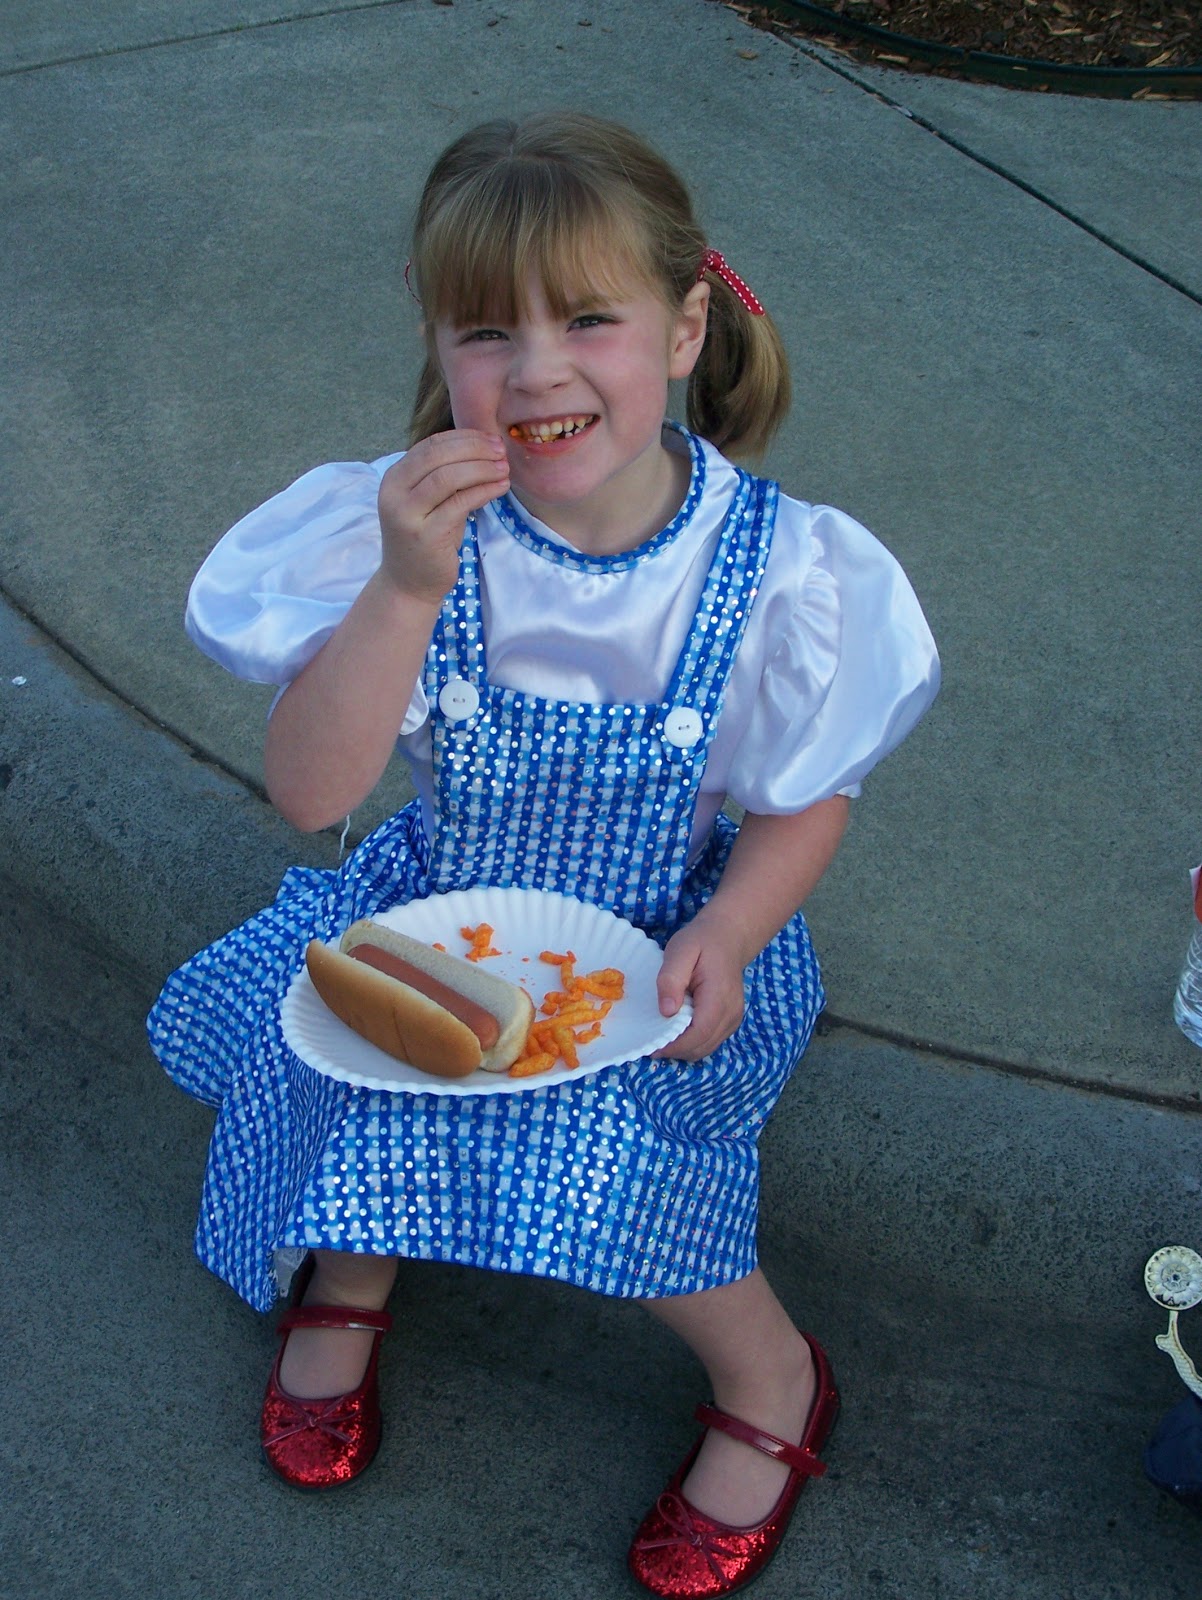
At the Moms of Wakefield annual family Halloween party!

 
At trunk or treat at Preschool. I had Super Girl to help pass out the candy!
If all of that is not enough to make you tired, there's more!
Yes, more.
Hunter finished up his soccer "season", and got his medal.


He was super excited to get his medal.
That was Thursday, and Saturday started basketball season...yes left one sport and straight into another.


He loved it and the funny thing is Eric got roped into being the assistant coach...hehehe.

We hosted Grub Club on Saturday. I'm sure you remember me talking about that...but if not, you can click here.
I didn't get any pictures, but trust me as always we had a blast.
The night was filled with great food, some yummy Halloween drinks, and charades.
Yes, charades...and I'm still cracking up! You just had to be there.

Sunday we had church and a luncheon afterwards...so fun.

And next thing you know, this week is here and Monday was Halloween.
It started out a gorgeous, cool, fall day and at 3:00 everything changed.
The clouds rolled in and it started to RAIN!!!
We still got out and trick-or-treating with umbrellas and rain boots, but the crowds were very low this year.
The kids had a blast though and that's all that matters!


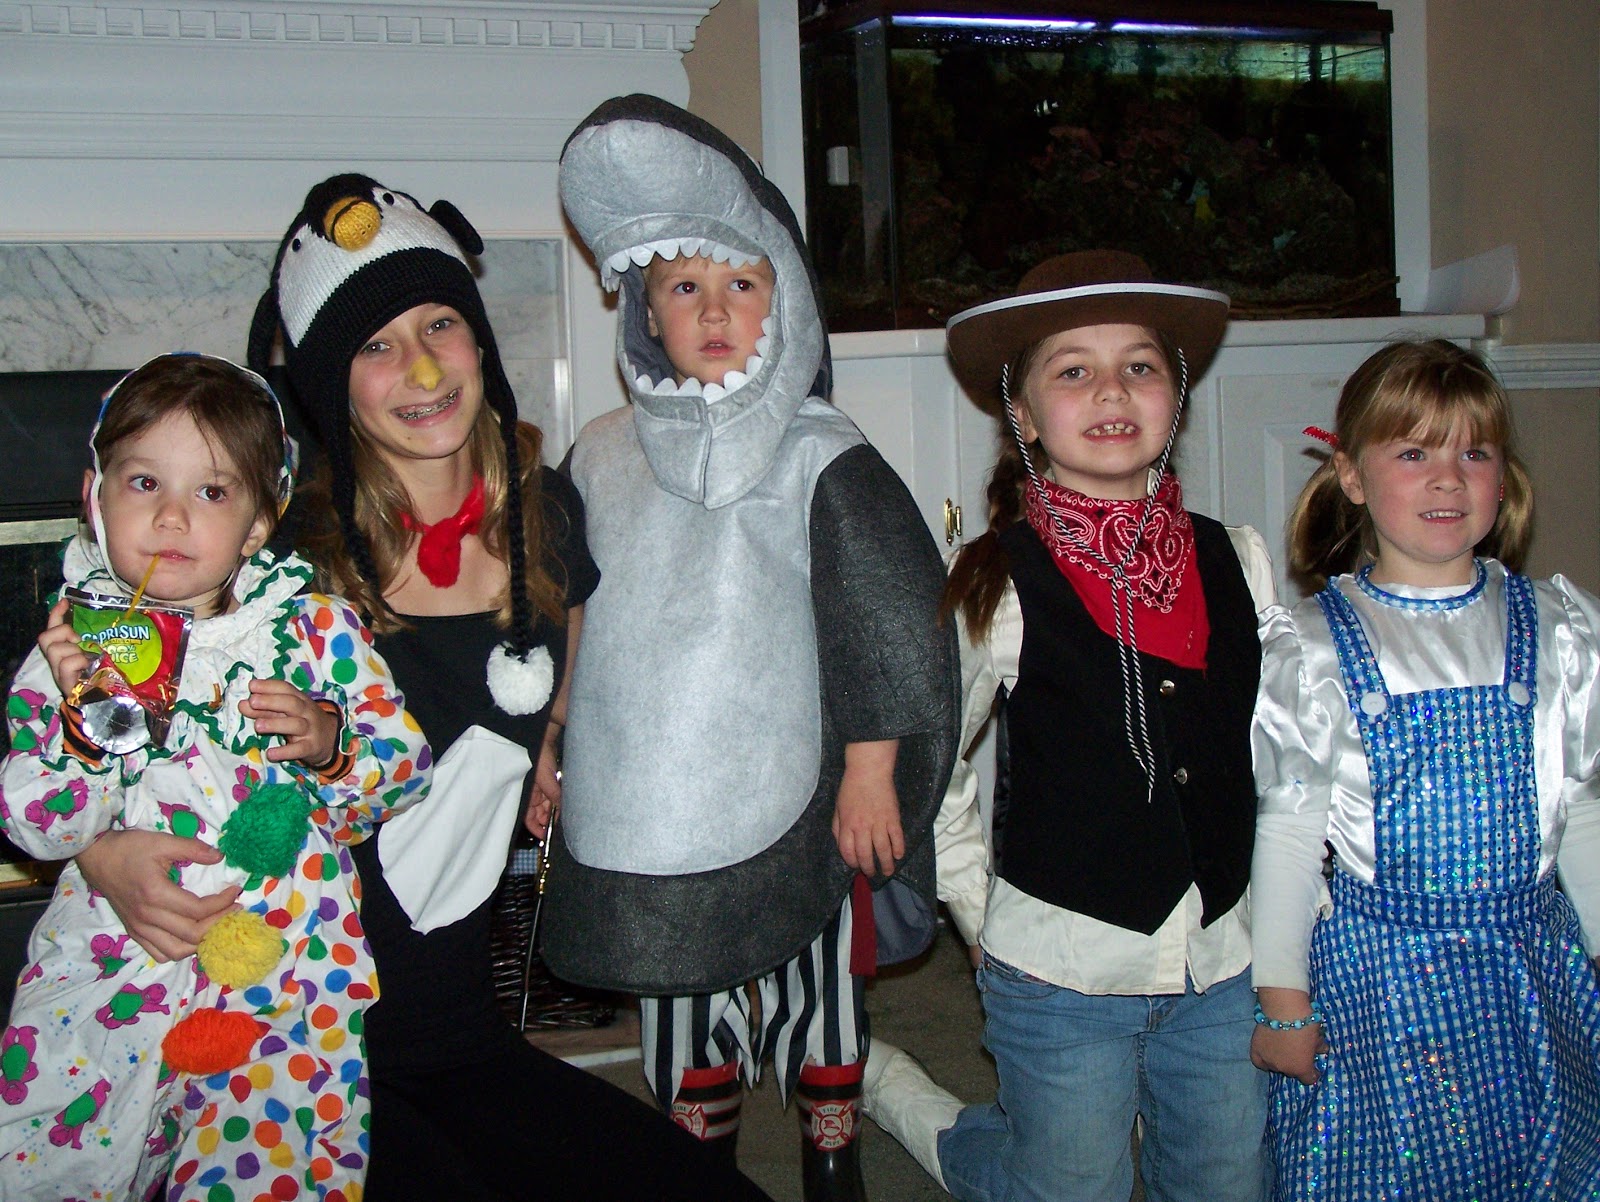


To make the night even better, the Gross', our old neighbors came back and went trick-or-treating with us.
And, we got to help Ella celebrate her 8th birthday!

Somehow in the midst of all of that, I managed to get a few craft projects completed.
And no I really didn't stay up all hours of the night.
But, here's a glimpse of a couple of things I did.

These were super easy. I got the idea from here. I just bought the glasses from the dollar store. I already had the candle plate, spray paint, and rock salt. I bought the candles from the dollar store too. So, this little centerpiece only cost $5.00.

These were super easy too. I found these here on Pinterest. I bought the flower pots and Michael's for $1.00 each. I already had the bags, paint, and candy corn. I made the tags in Word and attached them to some orange cardstock. I did do these at night between running from here to there and just realized the are backwards. Haven't I ever eaten candy corn before??? Apparently I was too busy to get it done and didn't pay attention to where I put which colors. Ooops! Oh well, they still turned out cute! I will just have to pay more attention next time. I guess that's what I get for trying to get too many things done at once.
And last night I finshed up my fall wreath for my front door.


It was super easy.
You can find out how to make one for yourself here.

And here we are today...Thursday!
The kids are off to camp this morning and Eric is off work {yay}.
I'm going to do some packing and then we hit the road.
We're going back to my roots!
It's homecoming at UGA, and Eric and I are going.
The kids are hanging with my parents while we do some reliving the old days in Athens!
So excited I can't stand it.

Hope all y'all have a great weekend.
I will report when we get home.
Until then... Goooo Dawgs! Sic 'em...Woof! Woof! Woof!

Wednesday, November 2, 2011

Fall Wreath

A couple of months ago, I made this adorable Lima bean wreath.
It was perfect for football season and looked great on my freshly painted front door.
Problem was...Mr. Sun.
The sun beats down on the front of our house all day long.
So of course, the heat of the sun kept melting the hot glue and the letters kept falling off. Then the beans started falling off as well.
I've put it together for the last time, but it will not adorn my front door any longer.
Looks like my Mama will be inheriting this beauty!

So, now I don't have a wreath on my front door...and we just can't have that.
I've decided to make a new wreath. It was pretty simple. Let's get started.
I went to Michael's and my mind started thinking...here's what I came home with.

I started by tying a knot with the twine around the wreath form.

I then started wrapping...
I wrapped, and wrapped, and wrapped.


It took a little while but not too long and then I was finished.

After the wreath was wrapped, I heated up my trusty hot glue gun and started gluing the moss onto the letter L.

When that was finished, I put a small amount of glue on the wreath and attached the L.
However, knowing that it won't hold up to the heat of the sun, I then used some ribbon or floral wire and wrapped it around the L and the wreath.

Last I took the three flowers I purchased {that have clips on the back} and simply clipped them on the twine.

Wha-la...a fall wreath!


Doesn't it looks super cute?


Tuesday, November 1, 2011

Barefoot Daydreams

I know, I know it's been a week since I've last posted, and I'm sure y'all are all missing me.
I do have a lot of catching up to do, some recipes to post as well as a couple of craft projects, but they will come.
But, not tonight.
Tonight I want to mention a fellow cyber/blogger "friend".
You have to check out her site.
She's a fellow Georgian and not to mention a bulldawg!
 She's an amazing writer and wonderful crafter.
I aspire to be like her one day!
So, go check out her site...
{It doesn't hurt that she's having a giveaway for her new etsy shop!}


What's stopping you??? Go! Go now!

Until tomorrow, have a great night, y'all!

Tuesday, October 25, 2011

Chicken Tortilla Soup

I found this recipe yesterday on Pinterest.
With colds luming around our house, and the temperatures getting cooler, I found it perfect for tonight.
It was so delicious, and just as good as getting a bowl at Panera.
 So, I'm going to share it with you.
I did change a few things from the original recipe...so here it goes.

2 chicken boneless chicken breasts
2 cans Rotel tomatoes, undrained (I used the mild kind)
1 can black beans; drained and rinsed
1 can corn, drained (I used the mexi-corn)
1 small onion, chopped
2 cans low-sodium chicken broth
1-2 cups water...eyeball it
1 Tbsp garlic powder
1 Tbsp chile powder
1 Tbsp ground cumin
1 Tbsp dried cilantro

tortilla chips
 sour cream
shredded cheddar cheese

Put chopped onion, beans, corn, rotel tomatoes, chicken broth, water, and spices in your Crock Pot. Stir to mix.

Put chicken breasts on top of mixture and make sure they're at least partly submerged in liquid.
Cook on high 6-7 hours or low 8-9 hours.

Before serving, remove the chicken breasts from soup and shred.
Return chicken to CrockPot, stir to combine.

Serve with tortilla chips. I used the Tortilla Scoops.
Also, top soup with cheese and sour cream, if desired.

Coffee Filter Wreath

 I have a friend who's a fellow crafter and turned me on to this super cute idea of making a coffee filter wreath.
I didn't know what to expect until she showed a picture of one to me.
I was hooked and
had.to.make.one...

So, last week while Eric was traveling she came over, and we each started making one.
I had so much fun hot gluing, talking, and drinking wine.

Anyway, before I digress anymore, here's what it looks like and how it's made.
{because believe me, you will be hooked too.}


Isn't it just gaw-geous???

Here's what you'll need to make one for yourself:
A Styrofoam wreath
{I got the medium size one from Michael's...and don't forget your coupon.}
coffee filters...a lot of coffee filters
glue gun and glue sticks
marker
shows to watch on TV or a friend to make one with you
Time...lots and lots of time

First, heat up the hot glue gun.
While that's heating up, go ahead and start separating your coffee filters.
I got the ones from Wal-Mart and later realized they were the 4 cup filters.
By the way, I ended up using close to 700 filters.

Next, you'll want to place the marker in the center of a coffee filter...like so:

Turn it all over and fold the filter down and around the marker.


{sorry the lighting is awful, and I terribly need a new camera.}

Put a dot of hot glue on the tip and place on the wreath.
I didn't take a picture in the beginning, but start from the inside of the wreath and work your way out.


Another pointer...you want to make sure that you put the filters very close together.
The closer you put them together, the tighter they are, and the fuller your wreath will be.

Like I said, you need time...it takes a lot of time to make.
This is definitely not one of those quick type projects, but it pays off in the end.
It took me about 6 hours total to make it.
I worked on it a couple of hours for a few nights and then finished it up this morning.

When you finish, turn it over because the inside might need a "hair cut".
Just trim up the ones that are sticking far out the inside hole or around the outside.

You want to make it as clean on the back as possible.

And there you have it...a coffee filter wreath!


I didn't think this would fare very well on my front door.
Thanks to my friend who got me inspired on this project, she also pointed out a great home for it.

I used some brown ribbon I already had and hung her up.


So, whatcha think????
I just L.O.V.E it!!!

Thanks, Ashley for your inspiration and for coming along on this venture!!!
I had so much fun!

Sunday, October 23, 2011

Halloween Picture Frame Crafts

I've been a busy little bee these last couple of weeks.
I saw this adorable Googly-eyed {Halloween} frame on a blog and just had to make it.
So, I bought the stuff and made it...just that simple.

Want to know how to make one for yourself?
No biggie...just click here.

After making this cute one, I just had to come up with more...
So, I decided to make a ghost frame.
Here it is...

This one was easier than the first one...if that's even possible.
Want to know how to make this one???
OK, just click here.

Last one...I promise.
I know I got a little carried away, but they are so easy and cheap.
And, my brain kept coming up with more ideas.

What's the one thing you need for Halloween and fall???
A Lil' Punkin' of course.


I know...no cute Punkin' in there, yet.
But only a matter of time, and I can't wait to see it finished.
Want to make this one???
Easy peasy...just click here.

I've been working on something else too, but for now these are my Halloween frames.
Have you made something cute this Halloween?
I'd love to see it.

Hope all y'all have had a great weekend.


Lil' Punkin' {Halloween} Picture Frame

Here's how to make this cute little frame.

What you'll need:
A square, unfinished wooden frame - from Michael's $1.00
"Pumpkin" Orange craft paint - had on hand
green felt - had on hand
green ribbon - had on hand
black pipe cleaner - had on hand
letters cut for words

All I did was paint a couple of coats of the pumpkin orange paint on the frame.
As it dried, I made a template of the leaf from Word and cut it out. I used my template to cut out the leaves on the felt.
When the paint was dried, I then sprayed it with a clear acrylic sealer.
While that dried, I cut the letters on my Silhouette.

Once the frame was dry, I hot glued on the "stem", leaves, and ribbons.
 Last thing I did was glue on the letters.
And there you have it...a pumpkin frame.


I cannot wait to see who or what ends up in this frame!