So, it's been a few nights since I last wrote, but I've been a busy bee creating my latest project...no-sew curtains.
***Warning*** If you are an established sewer, you might want to turn away, because you might cringe, but for me it works because I am NOT a sewer...wish I were and strive to become one, but that would require me to buy a sewing machine first.
Back to the matter at hand, my new curtains. I re-painted my dining room, to give it a fresh face, and needed new curtains. (BTW, the dining room project will have it's own post when it's finished...which could take a while).
I had a vision in my head of what I wanted my curtains to look like. I love the ones that are solid at top and have a different color at the bottom. Well, I couldn't find any in stores that I liked for my fresh new blue room. I'm going with a muted lime green, if you will, for the accent color in there. It's bright and very fresh looking.Well, once I couldn't find any curtains I decided to make some. Um, problem. I don't know how to sew or even own a sewing machine. On to plan B...use hem tape and fabric adhesive tape. Once I got everything (list is at the bottom) I was excited to get started. Here's how it all went down.


When I got home, I wanted to get started right away, but you and I both know that doesn't happen with two young kids. I already bought the green fabric at JoAnn's a few months back, so I was set. The next day, I laid out the curtains to measure them. The panels I bought were 84" long, and I wanted the curtains to be 94". Once the panels were laid out, I then placed the green fabric on top to measure it all and figure how big I wanted the green panels.

I decided that I wanted the green panels to be 20" long and the white panels to be 74". I also measured how wide I needed to cut the green fabric and decided they needed to be 44inX22in. I went over 2 inches so I could put a 1inch hem on all sides.
After measuring it all out I cut out the green fabric.
 And now I had two green panels and two white panels...one step closer to my perfect curtains.
So the next night I started all over, measuring, checking, and rechecking to make sure they were perfect before I ironed on the hem tape. Now I was ready to go.


Here, I'm measuring and ironing a seam so I can add my hem tape.

 I measured out how much hem tape I needed and cut it. Then I tucked it carefully under the 1 inch seam I made and ironed it on, following the directions on the package.
 The key is to hold the press for a few seconds and then let it cool.
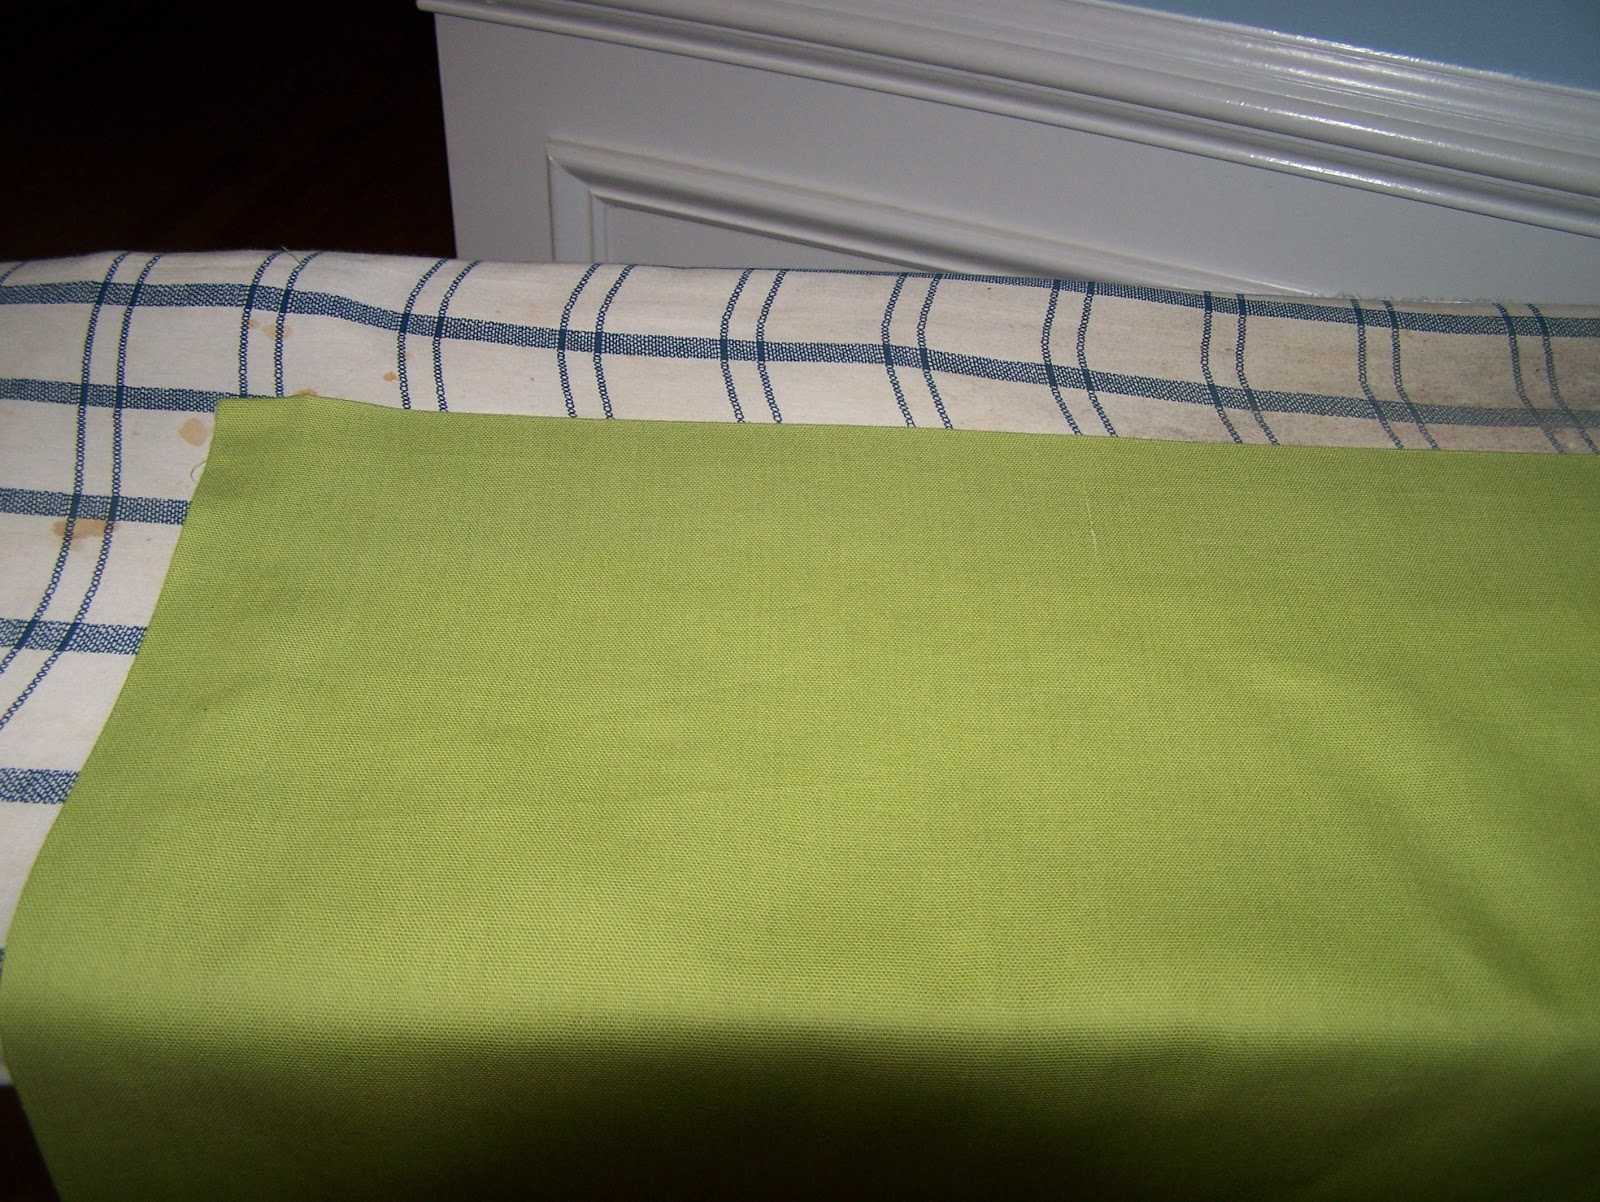
And, wha-la I have a perfect hem...well maybe not perfect but who's checking?
After the green panels were "hemmed" I laid a white panel out on the floor and very carefully measured 74 inches from the top along the whole width, and placed a few pins along the way.

 The next part was kind of a trial and error situation. With the first curtain, I attached the iron-on adhesive tape to the green panel and then added it to the white panel, again following directions on the package and holding the hot iron for a few seconds along the way.
The adhesive tape was different from the hem tape a bit and I had to iron on the tape with the paper on and then remove the paper after it cooled and iron the green panel onto the white panel.


 With the panel laid flat on the floor, it was much easier to make sure all the edges met and ironed on correctly.
I also found with the second one that it was much easier to iron on the adhesive tape to the white panel and then iron the green panel on top.

Almost finished, I promise. Once both green panels were ironed on and cool, I then moved on to the ribbon trim. I found the perfect blue ribbon that matched the blue walls, so I picked it up. I'll spare you all the details of the problems I ran into here as well. But just know, I measured out the ribbon and cut it.  I decided I would try the liquid stitch this time. I followed directions and applied.
 I decided I would try the liquid stitch this time. I followed directions and applied.


So, are you ready yet??? I was so excited I could barely sleep last night. To me they are perfect; exactly what I had pictured in my head. I hung them and I am so excited. I hope you like them as much as I do.


Things you need to make curtains like these:
2 Panel curtains (in length you want)
Fabric (to cut into the sizes that you want according to how big you want the panels)
Tape Measure
Pins
Scissors
No-sew super strong hem tape (I used 1 roll)
No-sew super strong iron-on adhesive tape (I used 1 roll)
Iron/Ironing board (or white towel like I used)

No comments:
Post a Comment